Schedule a Plumber This Friday to Get 50$ OFF
Schedule a Plumber This Friday to Get 50$ OFF


A leaky faucet isn’t just annoying; it is time-consuming, wastes water, and results in costly home repairs. Identifying and fixing a leaky faucet in its early stages is essential in conserving water and preventing potential damage to your plumbing system. In this article, we will cover the four common causes of faucet leaks and provide a step-by-step guide on how to fix a leaky faucet. If you want to learn more, call Mr. Rooter Plumbing (Killeen, TX) today.
If the leaks persist after a repair attempt or there is significant damage to the faucet body, please call a plumbing service.
Are you looking for a plumbing contractor to help with your faucet repair? At Mr. Rooter Plumbing, we are your locally owned and operated plumbing company. With our affordable price plans, exceptional customer service, and experienced plumbers, you no longer have to worry about those annoying leaky faucets. Call us today to learn more about us and our services.

Plumbing leaks can be a pain in the neck, especially when you suspect a leak but can’t find the source. Knowing how to detect water leaks can prevent costly damage,…
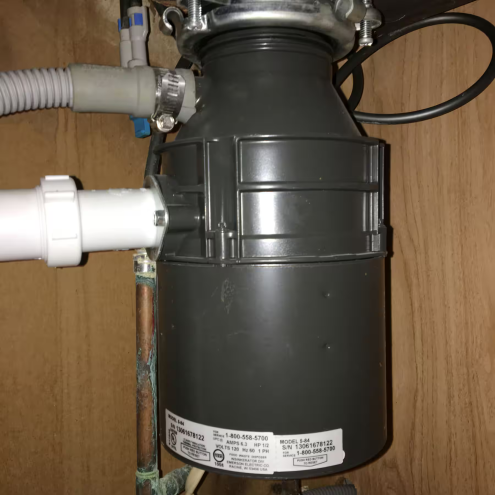
If you’ve ever struggled with an outdated garbage disposal, you know the kind of frustration and disruption the appliance can cause. From frequent jams and slow drains to water leaks…
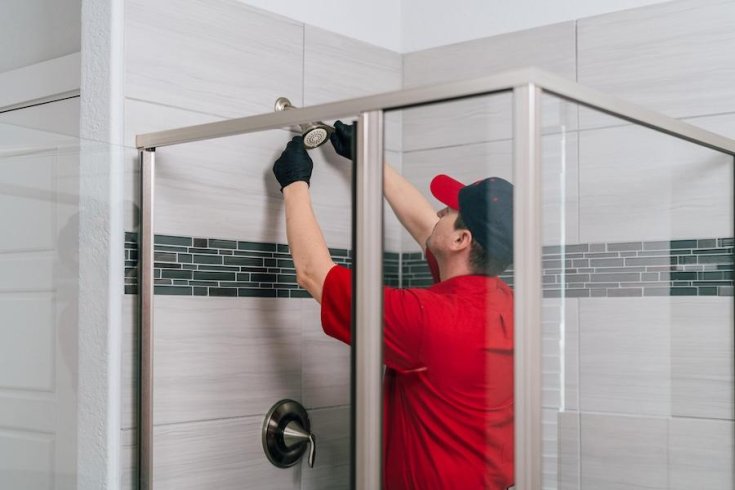
Proper maintenance of shower fixtures can help preserve their functionality, extend their lifespan, and maintain the aesthetics of the bathroom. In this post, Mr. Rooter Plumbing shares best practices for…